How To Make Your Own Antioxidant Toner And Save Money
Last updated on
Your skin is the foundation of your beauty routine, and you can’t fake healthy skin. If your face is dried out, oily, features dark spots and/or is prone to blemishes, you’ve probably been searching for a way to repair it. Sure, there are creams and serums that you can purchase from a department store or a salon, but the ones that actually provide any benefit usually have excessively high price tags.
Instead of spending a fortune at the cosmetics counter, learn to make your own skincare products at home. A great one to start you off is this inexpensive and easy to make antioxidant toner.
The Benefits of An Antioxidant Toner
Antioxidant toners provide a number of benefits for your skin. Firstly, it’s worth noting that just as antioxidants protect your organs and flush out free radicals, they do the same for your skin. And, since your skin is the largest organ, it only makes sense that you want to keep it protected.
Specifically, antioxidants provide the following benefits for the skin:
- They are anti-inflammatory: If your skin is prone to puffiness and/or blemishes, you’ll love the calming effect of antioxidants. There are several antioxidants, such as alpha acid, that can reduce inflammation in the skin, improve the circulation of blood and oxygen and that can boost the metabolism of cells. As a result, when you use antioxidants on your skin, you’ll notice that there are fewer blemishes, your skin tone will become even and you may even experience a decrease in wrinkles.
- They firm and tone the skin: As you age, your skin loses elasticity. As a result, it can look droopy and wrinkly. You’ll notice that your skin will appear years younger once you start using an antioxidant toner because it has a tightening effect.
- Treatment of scars: Do you have a scar on your face that makes you feel self conscious? If so, then you’re going to want to give this antioxidant toner a try. Antioxidants can help to enhance the blood flow to scar tissues. As a result, they blend into new skin that your body develops, thus making the scars less visible.
- Reduce damage from the sun: The powerful UV rays of the sun can damage your skin’s cells, causing them to become discolored, blotchy, leathery and can increase the appearance of fine lines and wrinkles. Antioxidants can reverse the damage of UV rays, restoring the youthful look of your skin.
DIY Antioxidant Toner
Making your own antioxidant toner at home is really quite simple. To make it, you’ll need the following ingredients:
- Purified water
- Organic apple cider vinegar
- Organic green tea bags
- (Blue chamomile essential oil is an optional ingredient to add)
To make the toner, place the green tea bags in a cup of boiled purified water for 30 minutes. Once steeped, add one teaspoon of organic apple cider vinegar to the water. If you’d like, you can add in a few drops of the chamomile essential oil that helps remove toxins and clean the sebaceous and eccrine glands.
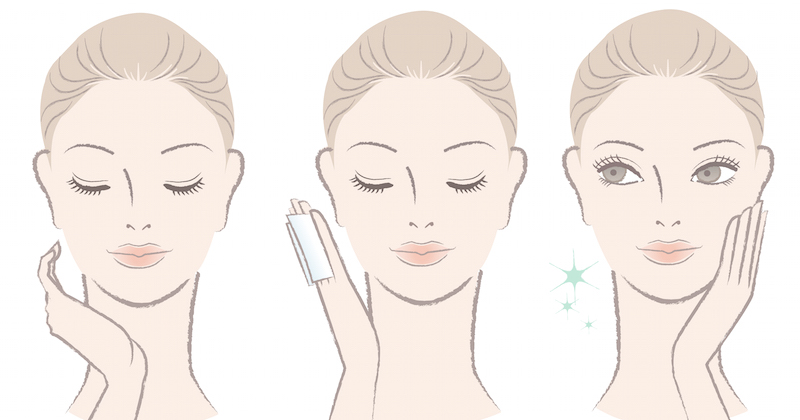
Once your mixture is ready, dab it on your face with organic cotton balls before putting on your daily skin care. You’ll instantly feel refreshed.
Sources:
https://www.ourhomemadehappiness.com/2012/08/homemade-facial-toner.html
https://nailartandbeauty.com/2013/04/18/diy-anti-oxidant-packed-green-tea-toner/
https://www.diynatural.com/homemade-facial-skin-toner/
Some of the links I post on this site are affiliate links. If you go through them to make a purchase, I will earn a small commission (at no additional cost to you). However, note that I’m recommending these products because of their quality and that I have good experience using them, not because of the commission to be made.


 JOIN OVER
Comments